15 Most Satisfying Villain Defeats
Some anime showdowns feel earned because every clue, limitation, and training beat lines up right when it counts. These defeats land not because of sudden miracles but because the story did the work and the characters followed through. Below are memorable examples where planning, growth, and clear rules pay off in ways that make sense from start to finish. You will also notice how each studio’s production choices help the payoff hit even harder in the moment.
‘Fullmetal Alchemist: Brotherhood’ (2009–2010) Father is brought down
Father’s plan to absorb the power of Amestris backfires once the Truth enforces equivalent exchange and strips away what he stole. Edward wins only after giving up his alchemy and trusting Alphonse’s sacrifice and Hohenheim’s preparation, which the story set up across earlier arcs. The final transmutation relies on established rules about souls, philosopher’s stones, and gate mechanics. Bones ties the logic together with careful callbacks so the last blow feels like the endpoint of a long equation.
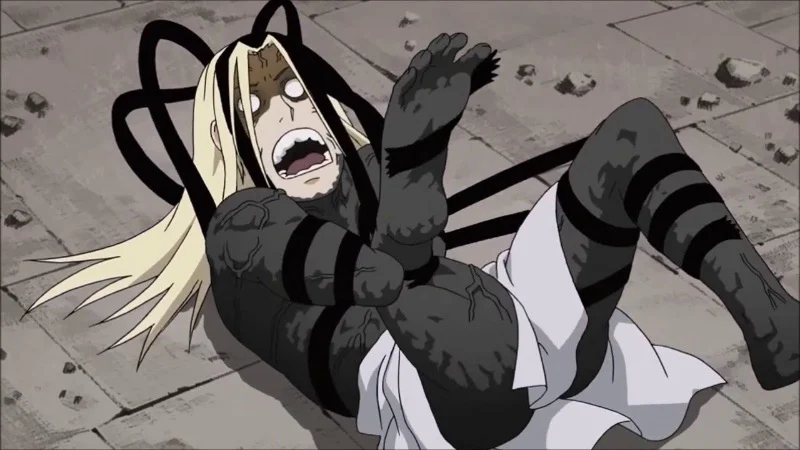
‘Attack on Titan’ (2013–2023) Rod Reiss is stopped
The Scouts lure Rod Reiss’s oversized crawling titan into town and use an explosive plan to force it upright for precision strikes. Historia delivers the finishing cut in midair after the team divides the target and clears the steam, all based on ODM tactics we have seen drilled for seasons. The victory follows groundwork about titan anatomy, heat, and gas management rather than surprise power ups. Wit Studio and MAPPA stage the operation with readable geography that makes every step of the plan easy to follow.
‘My Hero Academia’ (2016– ) All For One is beaten
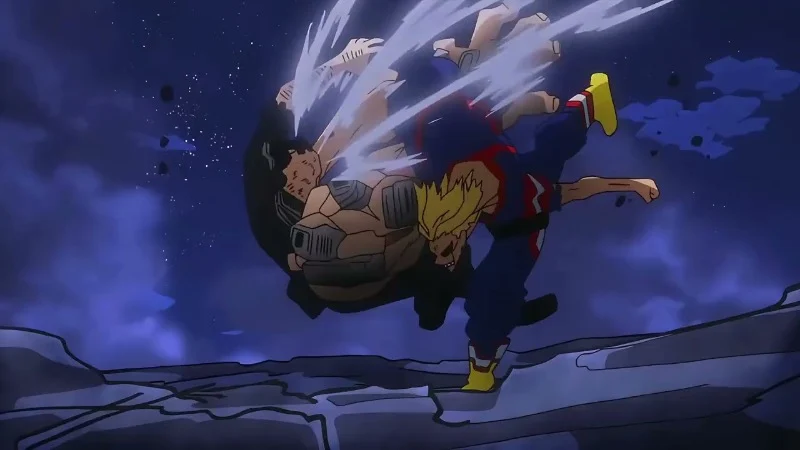
All Might fights with the last of One For All but uses positioning, feints, and timing to protect civilians and isolate the villain. He converts the embers of his power into a focused final punch after baiting All For One into overconfidence. The outcome tracks with the series’ stamina rules and the known transfer limits of the quirk. Bones frames each exchange around line of sight and collateral risk so the tactical choices stay front and center.
‘Hunter x Hunter’ (2011–2014) Meruem meets his end
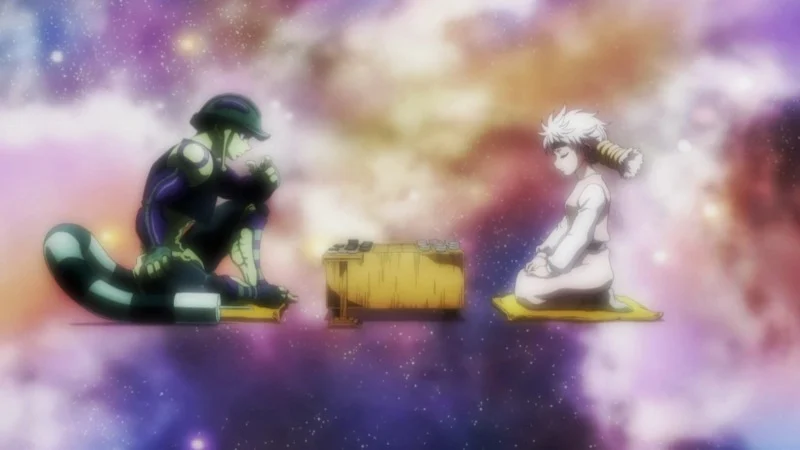
Meruem survives the explosion but the miniature rose’s poison remains active and spreads through contact over time. His final moments with Komugi follow the established lethality and incubation of the toxin explained earlier in the arc. The King’s strength cannot counter chemistry that the narrative flagged well before impact. Madhouse presents the quiet conclusion in deliberate shots that underline cause and effect without last minute rescues.
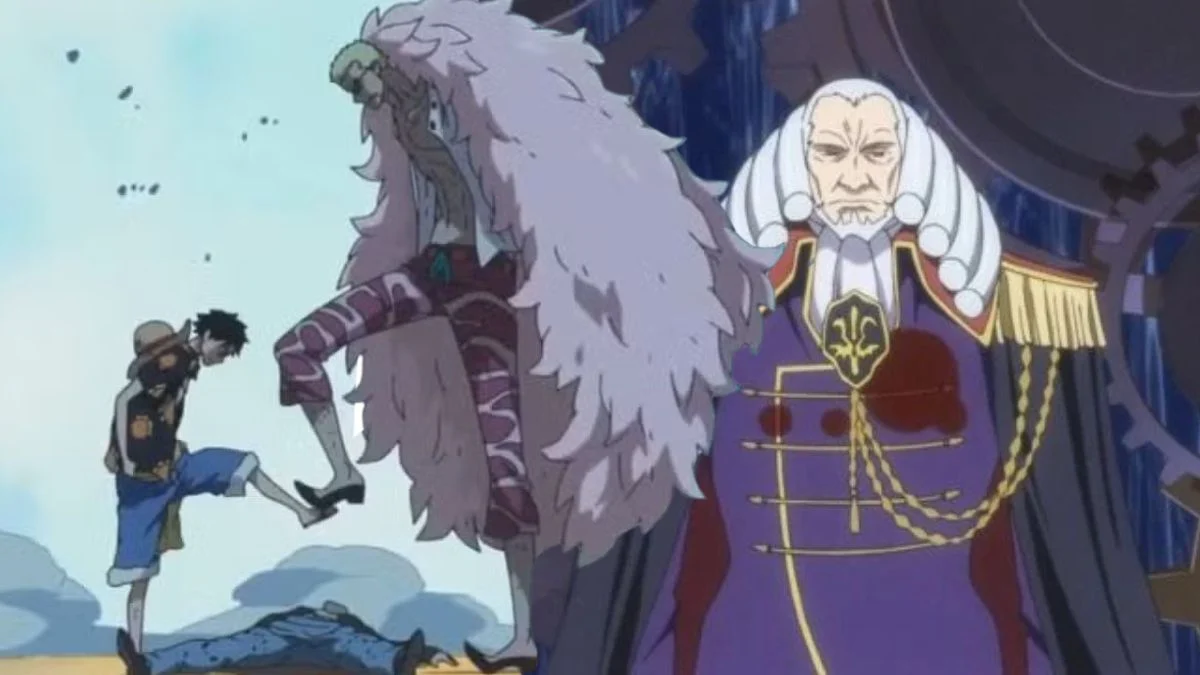
‘One Piece’ (1999– ) Doflamingo falls
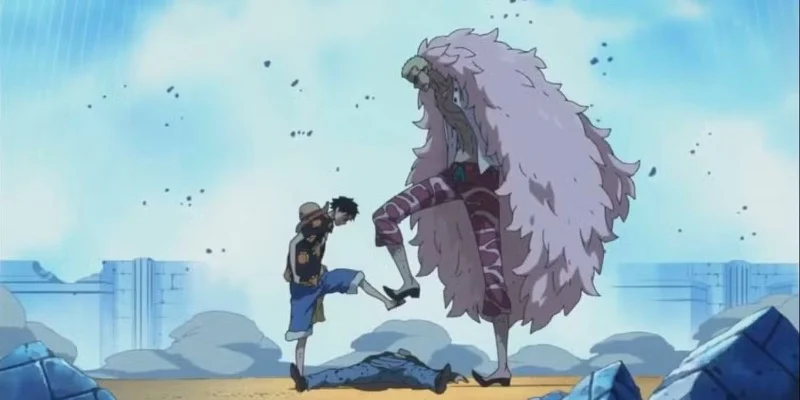
The Dressrosa fight hinges on Luffy’s time limited Gear Fourth, Law’s planning, and the birdcage’s closing radius. Civilians and gladiators buy seconds as Luffy manages cooldowns exactly as defined earlier, then returns with a single window to finish the job. The battle respects stamina constraints and the strings’ properties rather than new abilities appearing out of nowhere. Toei Animation keeps a ticking clock visible so the final strike’s timing reads as tactical execution.
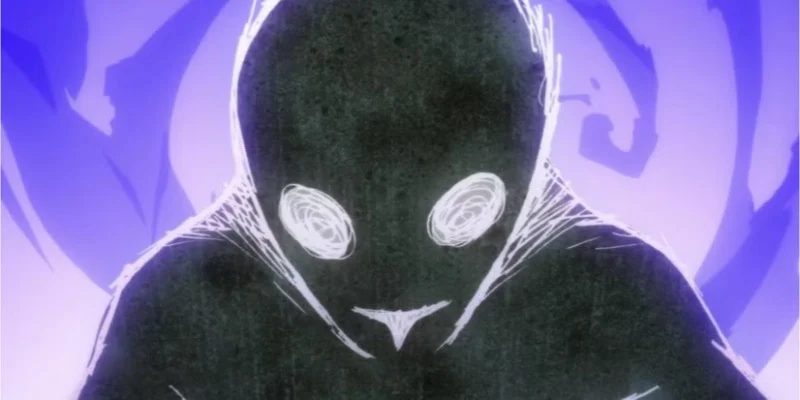
‘Mob Psycho 100’ (2016–2022) Toichiro Suzuki is neutralized
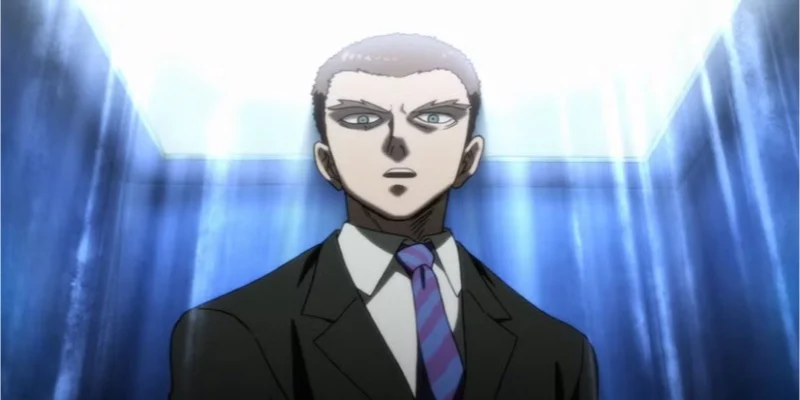
Mob counters Toichiro not by overpowering him but by letting the villain overextend and lose control of built up energy. The explosion is redirected skyward using lessons about Mob’s emotional valves and Toichiro’s unsafe storage method. The resolution fits the show’s consistent handling of stress limits and release. Bones emphasizes meter builds and venting visuals so the mechanics feel transparent.
‘Code Geass’ (2006–2008) Charles zi Britannia is defeated
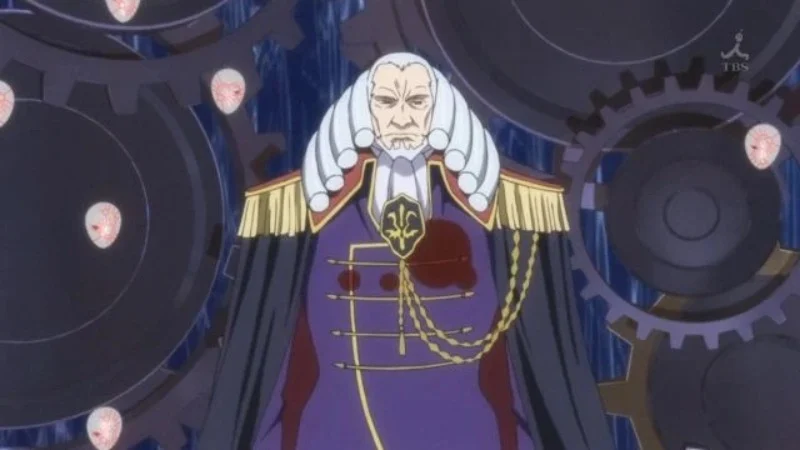
Lelouch ends the Ragnarok Connection by exploiting Geass contract logic and forcing the system to accept a command that unravels the Emperor’s plan. The scene uses previously established rules about codes, consent, and the ruinous side effects of absolute obedience. Nothing appears on the fly because the key limitations and loopholes were spelled out across prior confrontations. Sunrise stages the confrontation in the Sword of Akasha with clear cause chains that make the collapse feel inevitable.
‘Death Note’ (2006–2007) Light Yagami is unmasked
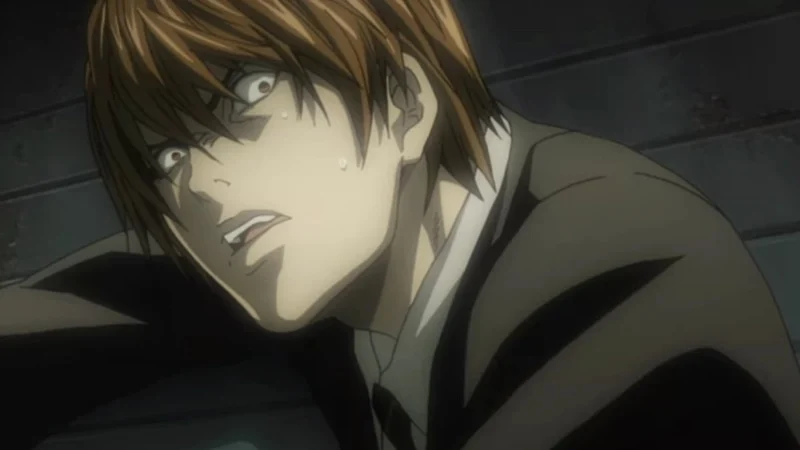
Near’s team swaps the notebook and exposes Light when he triggers a trap that was telegraphed through test pages and custody procedures. The final reveal follows the story’s strict chain of evidence around ownership, memory, and page fragments. Each safeguard lines up with earlier demonstrations so the sting lands without new rules. Madhouse shoots the warehouse showdown with methodical inserts that track every step of the setup.
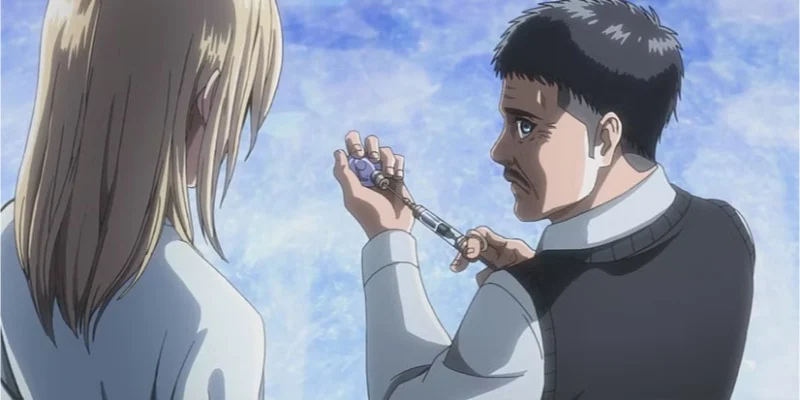
‘Vinland Saga’ (2019– ) Askeladd’s end changes the board
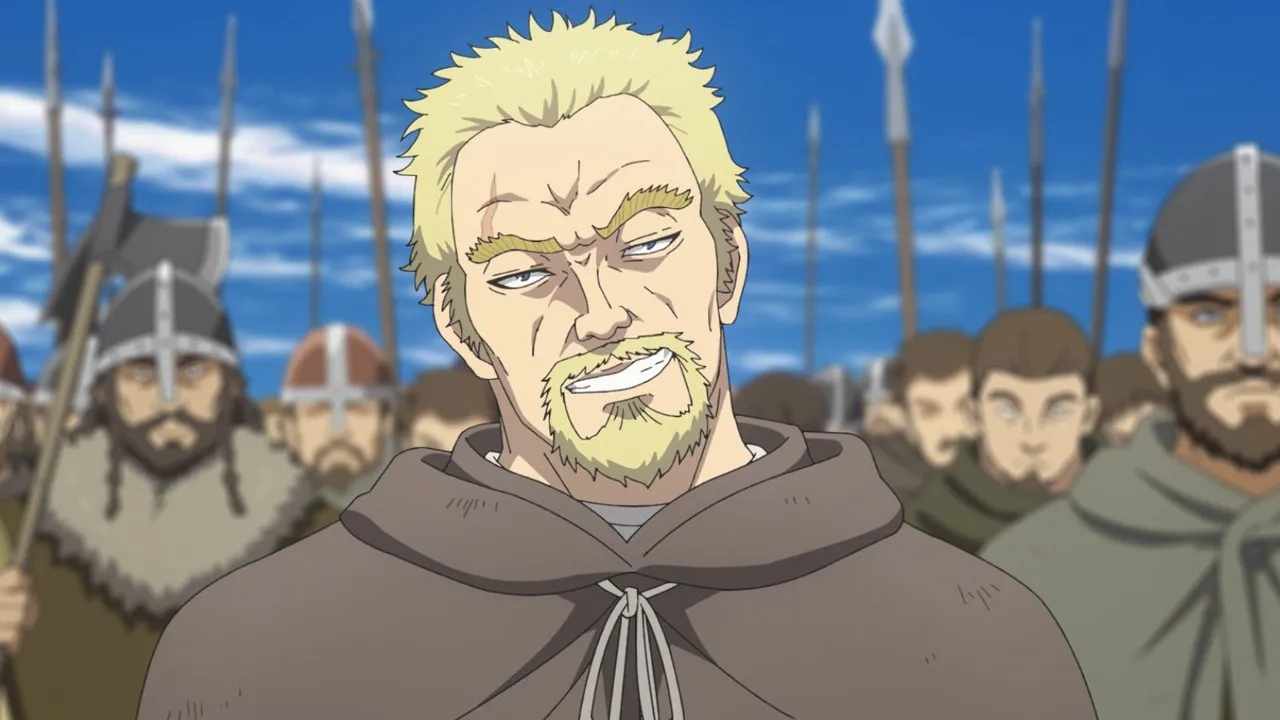
Askeladd orchestrates his own death to elevate Canute and remove a political threat while denying Thorfinn the revenge he trained for. The outcome grows from months of court maneuvering, fealty tensions, and Askeladd’s loyalty to Wales. It is a checkmate built on character choices the narrative underlined from the start of the arc. Wit Studio and later MAPPA ground the moment in quiet blocking that highlights intent instead of spectacle.
‘Demon Slayer: Kimetsu no Yaiba’ (2019– ) Gyutaro and Daki are decapitated together
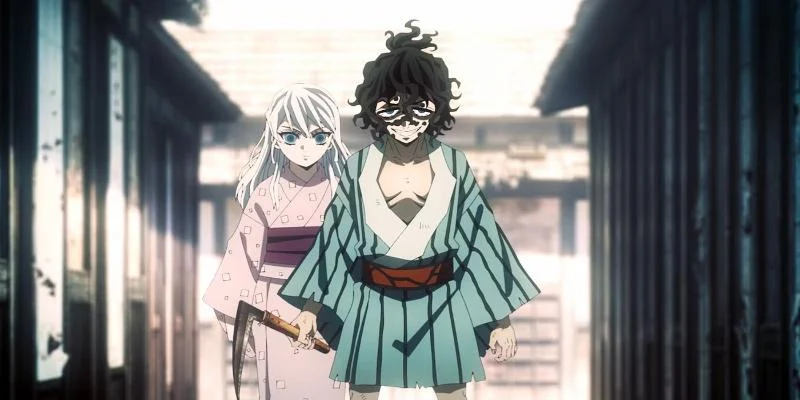
The Entertainment District battle sets a clear win condition that both heads must fall at once. Tanjiro, Zenitsu, Inosuke, and Tengen coordinate angles and timing to create a simultaneous finish after hours of learning the siblings’ habits. Antidotes, breathing stamina, and sound tracking are all used as previously demonstrated tools. Ufotable edits the final cut to show each line of attack syncing like a practiced routine.
‘JoJo’s Bizarre Adventure: Diamond is Unbreakable’ (2016) Yoshikage Kira is stopped
Jotaro’s team identifies Kira through forensic tells and stand interactions that were tested across the arc. Once “Bites the Dust” is disabled, time stop and teamwork corner him at the intersection where emergency responders arrive. The reversal depends on already known stand ranges, cooldowns, and speed rather than surprise evolutions. David Production keeps the camera on clocks and distances so the conclusion reads like a solved puzzle.
‘Gurren Lagann’ (2007) The Anti Spiral is overthrown
Team Dai Gurren breaks the stasis trap by exploiting spiral power’s scaling rules that the series explains from the village era onward. The final drill combines parallel units and shared resolve that the narrative consistently treats as additive energy. The victory follows the show’s math about probability space and belief driven amplification. Gainax visualizes these abstractions with clean visual metaphors so the step up feels earned within the system.
‘Naruto Shippuden’ (2007–2017) Pain is defeated
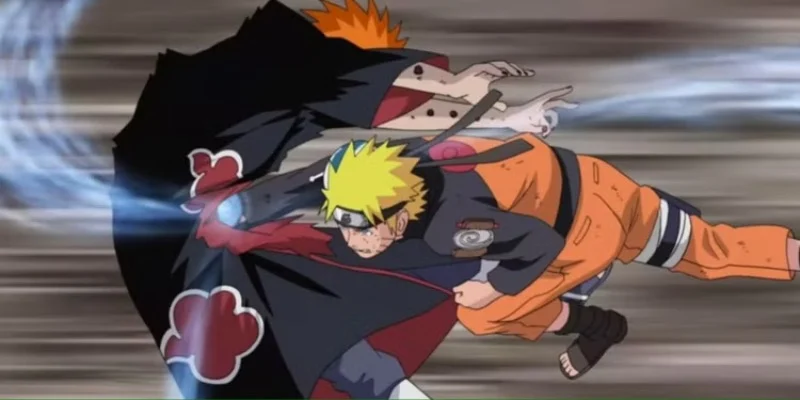
Naruto enters Sage Mode with the limitations and recharge methods he trained for at Mount Myoboku. He uses information from earlier interrogations and counters the paths by targeting vision links and reviving decoys. The final win comes after isolating the Deva Path’s cooldown and exploiting the window exactly as described in prior fights. Studio Pierrot lays out the battlefield and timing so the plan’s moving parts stay clear.
‘Bleach’ (2004–2012) Sosuke Aizen is sealed
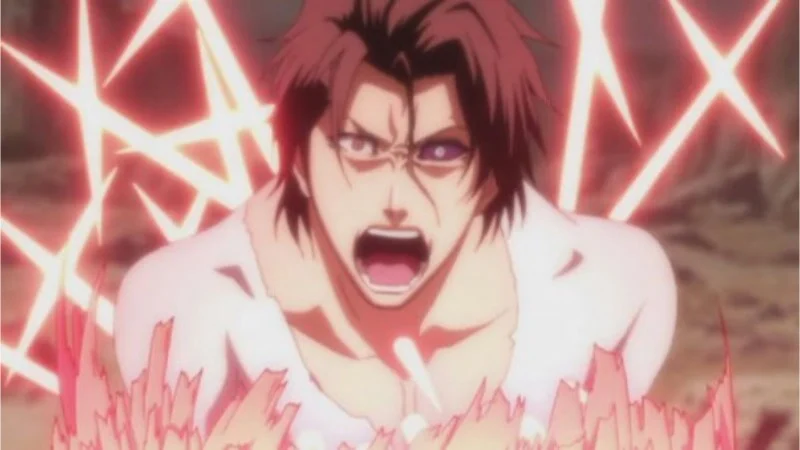
Ichigo’s Final Getsuga Tensho drains his power as explained by his training while Urahara’s kido trap activates only after Aizen’s transformations make him vulnerable. The Hogyoku’s behavior follows the story’s own conditions about acceptance and will. The combined effect disables Aizen without breaking earlier limits on sealing or spiritual pressure. Studio Pierrot frames each reveal as a preloaded contingency rather than a sudden twist.
‘Kill la Kill’ (2013–2014) Ragyo Kiryuin is defeated

Ryuko and Satsuki coordinate to neutralize Ragyo by targeting the life fiber network that the show has mapped in detail. Nudist Beach tech, kamui synchronization, and severing points work exactly as demonstrated across prior episodes. The finale removes the life fiber signal at its source so Ragyo cannot regenerate, which aligns with the series’ rules. Trigger animates the finish with readable cuts that track each tool doing the job it was built to do.
Share the villain defeat that felt the most earned to you in the comments and tell us which scene still gives you chills.