
10 Best One Piece Episode Endings (To Be Continued… Done Right)

When a cliffhanger lands in ‘One Piece’, the title card hits like a drumbeat and you just know the next episode can’t come fast enough. The anime has a knack for freezing the frame at exactly the right second, whether it’s a desperate plea, a world-shaking declaration, or the moment before a fight explodes. These endings aren’t about shock for shock’s sake. They lock in the stakes, point straight at what happens next, and make the follow-up episode feel inevitable. Here are ten “To Be Continued” cuts that did the job perfectly.
Nami Asks For Help At Arlong Park
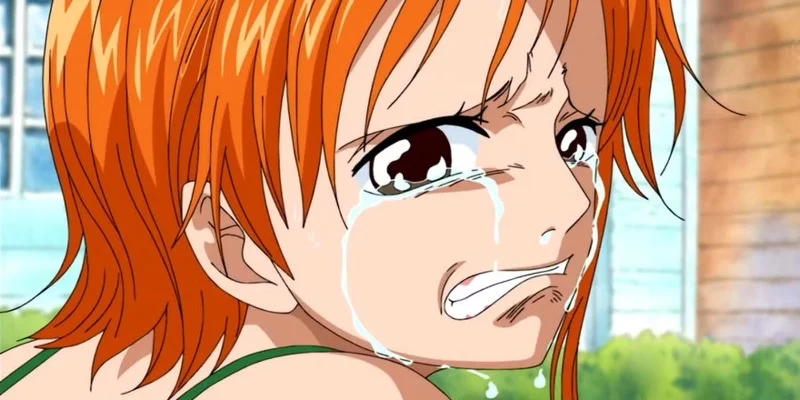
In the Arlong Park arc, Nami’s breaking point arrives at the roadside where she finally begs Luffy for help. He sets his hat on her head and walks to the park gates with Zoro, Sanji, and Usopp, and the title card drops as they march. The scene establishes the crew’s next move with zero ambiguity. The following episode opens on the Straw Hats dismantling Arlong’s forces and tearing into the compound.
Luffy’s First Loss To Crocodile
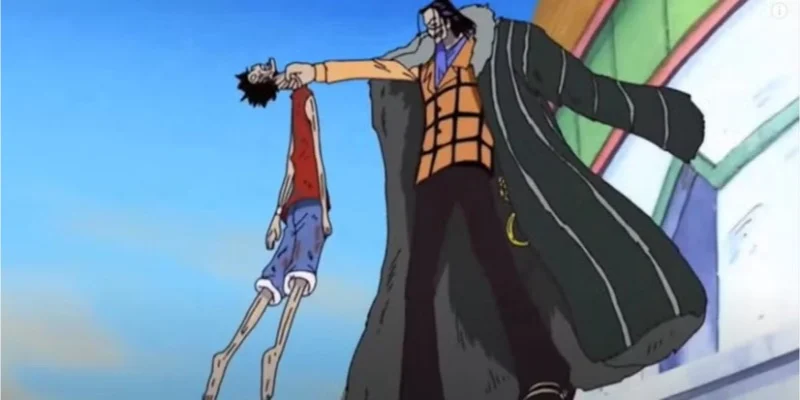
Underground in Alubarna, Luffy’s fight with Crocodile ends with the hook and the desert’s dryness working against him. The cliffhanger freezes on Luffy impaled and collapsing into the ruins below as Crocodile walks away. It sets a clear pivot in the arc by marking the captain’s lowest point. The next episode picks up with his rescue and the scramble to counter Crocodile’s sand powers.
“Shoot Down That Flag” At Enies Lobby
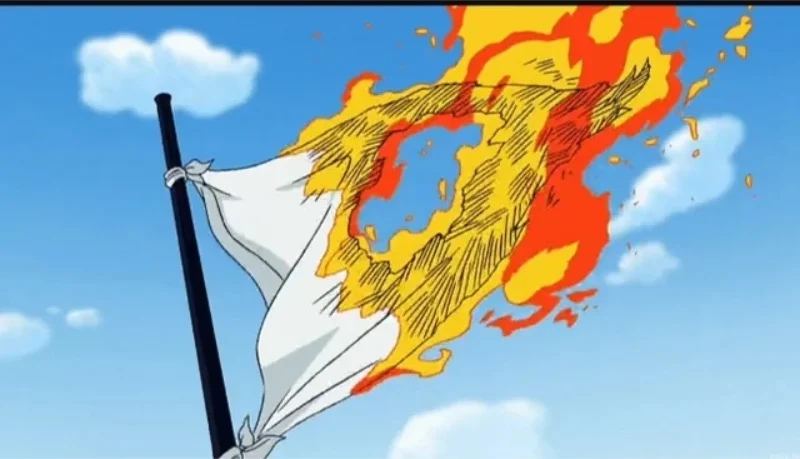
At the Tower of Justice, Luffy orders Sogeking to shoot the World Government flag after Robin’s confession in front of CP9. The burning emblem fills the frame as the “To Be Continued” lands, turning a rescue into a formal declaration of war. That single image clarifies the Straw Hats’ stance against the entire world order. The next episode moves straight into the bridge standoff and the push toward the courthouse.
The Going Merry Appears In The Judicial Sea
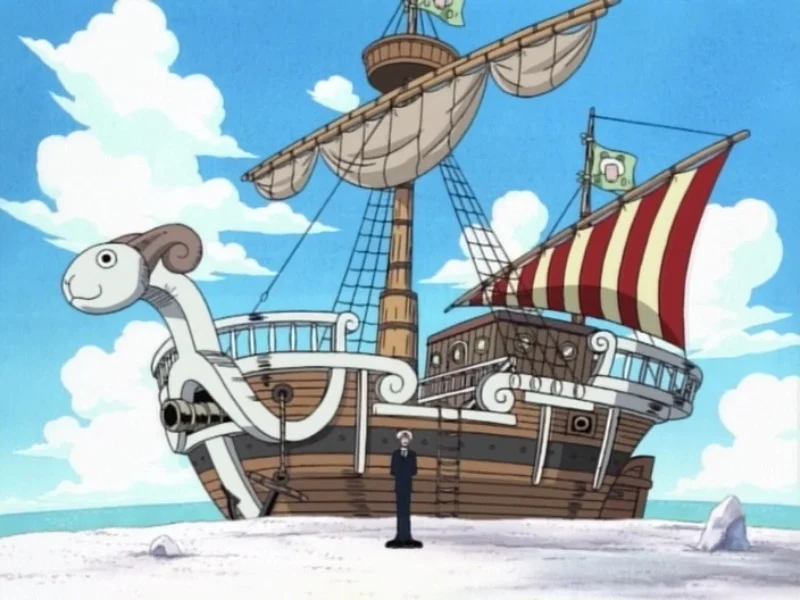
As the Buster Call closes in and the Straw Hats stand stranded on the Bridge of Hesitation, a familiar voice and mast emerge from the fog. The cut to the Merry arriving on the currents ends the episode at the exact moment of improbable salvation. It resolves how the crew can even escape Enies Lobby without spoiling the method. The follow-up shows the evacuation under fire and the final run from the fleet.
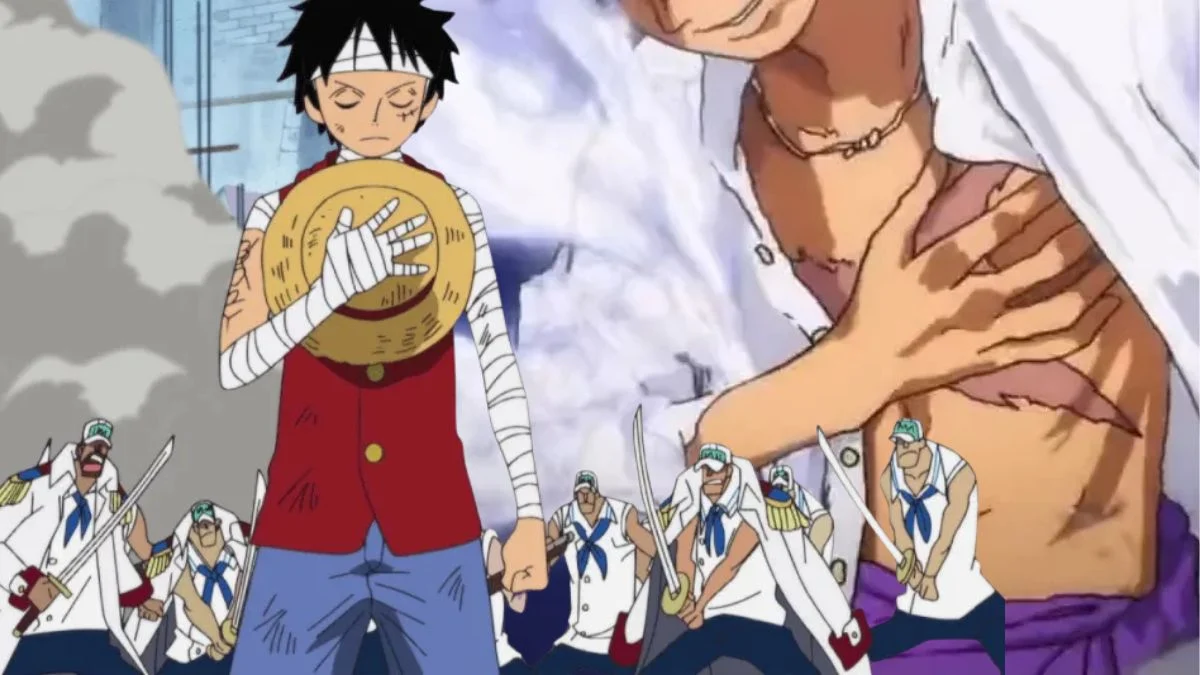
Kuma Starts Erasing The Crew At Sabaody
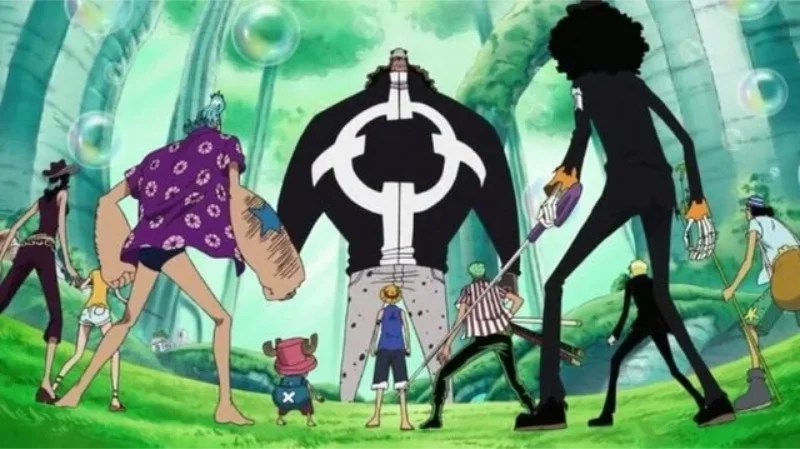
In the chaos at the auction house fallout, Bartholomew Kuma touches Zoro and the swordsman vanishes without a trace. The title card lands on the crew’s panic as the threat proves unlike anything they’ve faced. The moment signals that separation is the next phase of the story, not another group battle. The next episode continues as more Straw Hats disappear across the archipelago.
The 3D2Y Message Reaches The Crew
After the Paramount War, Luffy and Rayleigh stage the newspaper signal using the crossed-out “3D” replaced with “2Y.” The episode ends on the images and the coded meaning reaching friends and allies around the world. It tells viewers the adventure will resume after training rather than immediately reforming the crew. The very next episode tracks how each Straw Hat interprets the message and begins preparation.
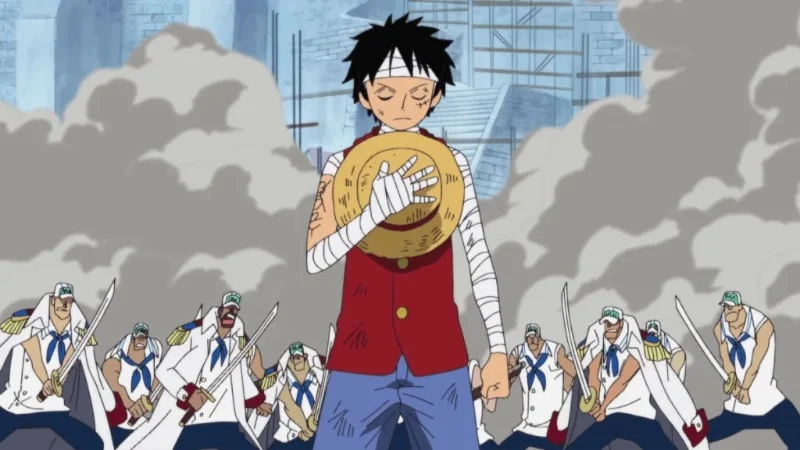
Luffy Bursts Into Marineford’s Center Stage

Launched into the war zone, Luffy crashes into the plaza between the Marines and Whitebeard’s forces. The “To Be Continued” hits as cameras, admirals, and pirates register the intruder’s objective. The placement clarifies that freeing Ace is the only route forward for the arc. The next episode escalates with paths to the scaffold and clashes across the siege lines.
Sabo Reveals Himself In Dressrosa
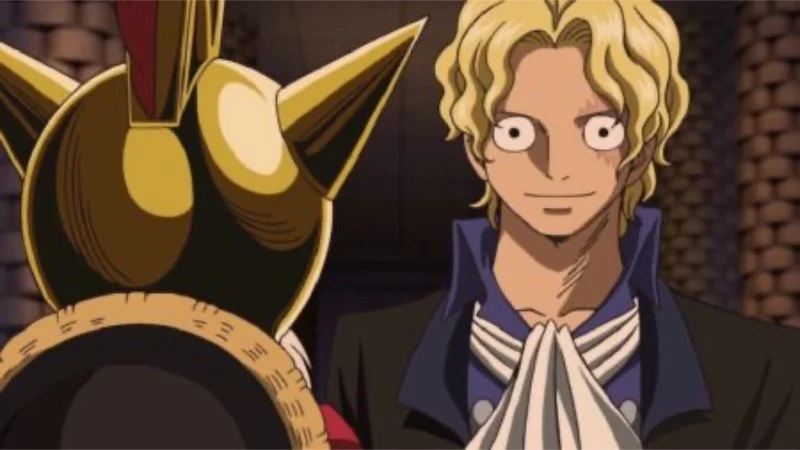
Inside the Corrida Colosseum, the helmet comes off and Sabo’s identity lands at the end of the episode. The cliffhanger confirms his connection to Luffy and his intention regarding the flare-flare fruit. It resets the D Block subplot into a direct family storyline. The following episode shows Sabo taking over and steering the tournament’s outcome.
Sanji Leaves With Germa On Whole Cake Island
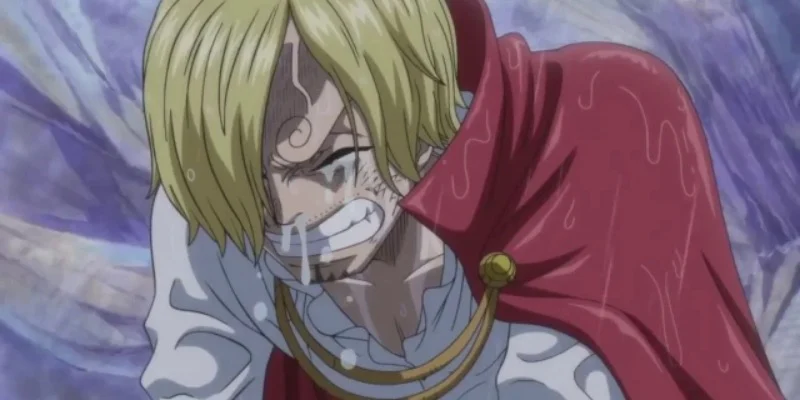
On the road outside the Seducing Woods, Sanji strikes Luffy and boards the convoy bound for the tea party. The episode ends on Luffy’s promise to wait in place until Sanji returns and not eat until then. That simple vow defines the next episodes’ pacing and locations across the island. The continuation explores the stalemate, Big Mom’s plans, and the stalled reunion.
The Heartbeat Before Gear Fifth In Wano

High above Onigashima, Luffy’s heartbeat changes and the drums begin after his fall against Kaido. The silhouette and smile appear just before the title card, signaling a transformation without revealing it outright. The cut makes the next episode’s opening the natural reveal point. The continuation unveils the new form and immediately resumes the fight on the rooftop.
Share your favorite ‘One Piece’ cliffhanger moments in the comments and tell us which “To Be Continued” hit you the hardest.